

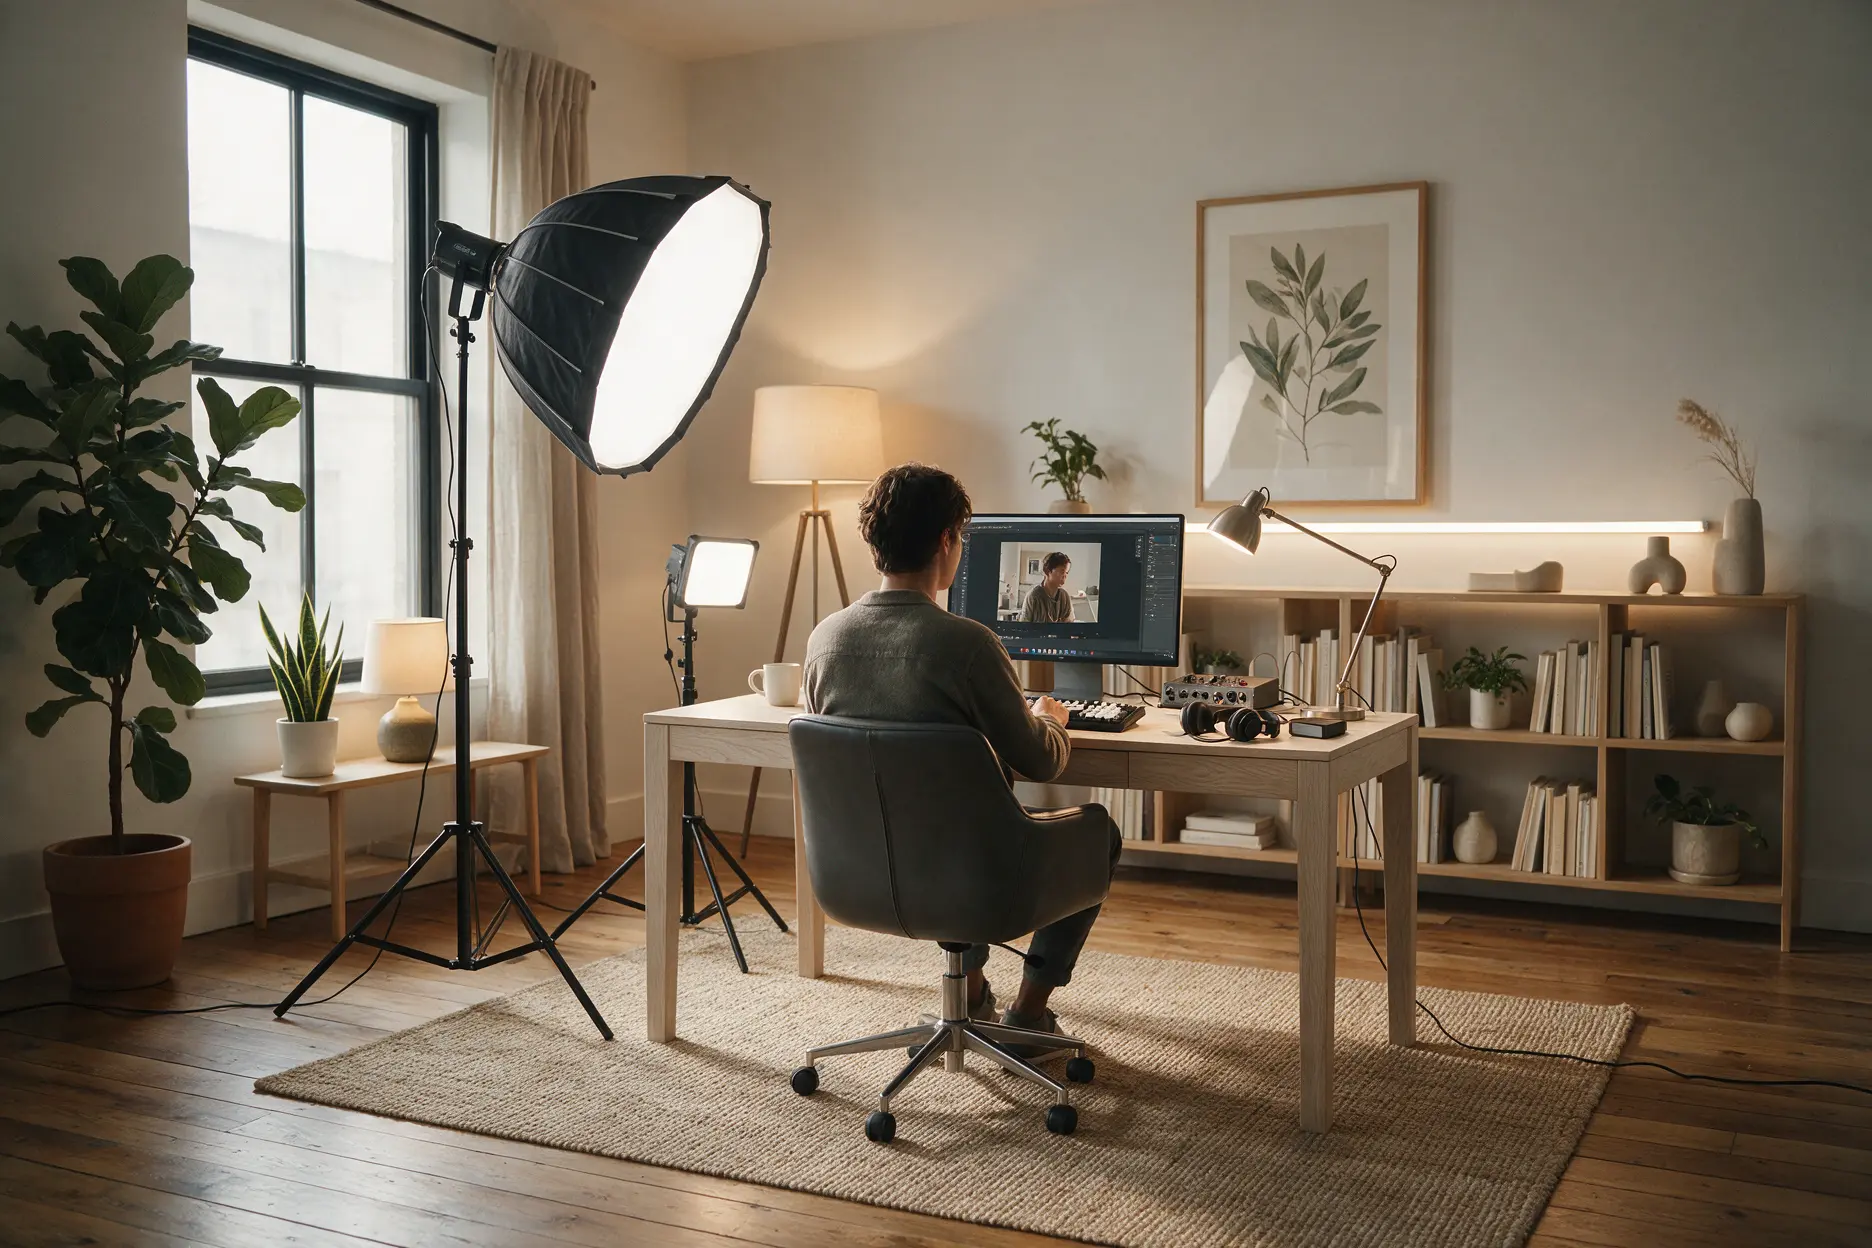
Good home studio lighting is the single biggest factor in how professional your videos, photos, streams, and calls look — more than the camera itself. The foundation is three-point lighting: a key light (your main light, at an angle to one side), a fill light (softer, on the other side, to soften shadows), and a backlight (behind you, to separate you from the background). Use soft, diffused light rather than harsh direct light, keep the colour temperature consistent (avoid mixing daylight and warm bulbs), and choose high-CRI lighting so skin tones and colours look natural. Whether it's a corner for video calls or a dedicated content studio, the right lighting makes an ordinary space look polished and professional. This guide covers how to light a home studio properly.
A great camera can't fix bad lighting — but good lighting makes even a modest camera look professional. Whether you create content, stream, take photos, or just want to look sharp on video calls, this guide shows you how to light your home studio.
Who Is This Guide For?
Content creators, YouTubers, streamers, podcasters, and photographers setting up a home studio in Noida, Greater Noida, Gurgaon, or Delhi NCR. Professionals who want to look polished on video calls and online meetings. And anyone wanting their home space to look professional on camera.
Why Lighting Matters More Than Your Camera
It's the most common mistake: people spend heavily on a camera, then film in poor lighting — and wonder why the result looks amateur. The truth is that lighting matters more than the camera. A modest camera in great light looks professional; an expensive camera in bad light looks flat and grainy.
This is because cameras need light to capture a clean, sharp image. Poor lighting means dark, noisy footage with unflattering shadows. Good lighting means bright, crisp, flattering images — the polished look you're after. So before upgrading gear, get the lighting right.
The Foundation: Three-Point Lighting
The professional standard — used everywhere from film sets to studios — is three-point lighting. It uses three lights to create a clean, dimensional, flattering look:
1. Key light. Your main and brightest light, placed to one side at roughly 45 degrees to your face, slightly above eye level. It provides the primary illumination and shape.
2. Fill light. A softer, dimmer light on the opposite side to the key, filling in and softening the shadows the key light creates. It ensures you're evenly lit without harsh dark areas.
3. Backlight (or hair light). Placed behind you, pointing at your back and shoulders, it separates you from the background and adds depth, stopping you from blending into the wall behind.
You don't always need all three — even a good key light alone is a huge improvement — but three-point lighting is the goal for a truly professional look.
Soft Light Is Flattering Light
The single most important quality of studio lighting is softness. Harsh, direct light creates hard shadows and unflattering contrast. Soft, diffused light wraps gently around the face, smooths the skin, and looks far more flattering and professional.
You achieve soft light by making the light source larger relative to you — using softboxes, umbrellas, diffusers, or large panels rather than bare bulbs. Ring lights are popular for their soft, even, wrap-around light (and the catchlight they create in the eyes). The bigger and more diffused the light, the softer and more flattering the result.
Colour Temperature: Keep It Consistent
Mixing light colours is a common home-studio mistake — a warm bulb on one side and cool daylight from a window on the other makes footage look off, with strange colour casts on the face.
The rule: keep your colour temperature consistent. Either use all daylight-balanced lights (around 5000–5600K) or all warm, but don't mix them uncontrolled. Many creators use daylight-balanced lighting (around 5000K) for a clean, neutral look, or tunable lights that let them match or set the temperature. Consistency is what makes footage look clean and professional.
Why High CRI Matters for Studios
For anything filmed or photographed, CRI (Colour Rendering Index) is critical. High-CRI lighting (90+, ideally 95+) shows skin tones, clothing, and colours accurately and vividly. Low-CRI lighting makes skin look dull, sallow, or the wrong colour — an instantly amateur look no camera setting fully fixes.
For a home studio, high CRI isn't optional; it's the difference between footage that looks true-to-life and footage that looks off. Always choose high-CRI lighting for on-camera work.
Setting Up Different Home Studios
For video calls & meetings. A single soft key light in front of you (a ring light or a softbox slightly above eye level) transforms how you look — bright, clear, and professional. Face a window for natural light, or use a light to avoid being backlit and appearing as a silhouette.
For YouTube & content. Three-point lighting for a polished look, high CRI, and consistent colour. Add background lighting or accent colour for production value.
For photography. Controllable, soft light with modifiers (softboxes, umbrellas), plus the ability to shape shadows for creative control.
For streaming/podcasting. Soft key and fill for a flattering on-camera look, often with coloured accent lighting in the background for atmosphere and brand identity.
The scale differs, but the principles — soft, consistent, high-CRI, well-positioned light — stay the same.
Common Home Studio Lighting Mistakes
Relying on the ceiling light. Overhead light casts unflattering shadows under the eyes and nose. Use front-facing, angled light instead.
Being backlit. A bright window or light behind you turns you into a silhouette. Light from the front.
Harsh, undiffused light. Bare bulbs create hard shadows. Diffuse and soften.
Mixing colour temperatures. Warm and cool light together looks off. Keep it consistent.
Low CRI. Makes skin and colours look wrong. Use high-CRI light.
One flat light only. A single front light can look flat. Add depth with fill and backlight.
Expert Recommendation from Brightmatic
For anyone building a home studio or serious video-call setup, our advice is simple: spend on lighting before you spend on the camera, and make it soft, consistent, and high-CRI. A good key light, positioned well, does more for how you look on camera than almost any gear upgrade.
The insight worth passing on: people obsess over cameras and microphones and treat lighting as an afterthought — then can't understand why their footage looks amateur despite expensive equipment. It's the lighting, almost every time. The professionals you admire aren't necessarily using better cameras; they're using better light — soft, flattering, consistent, and high-CRI. Get a single soft key light in the right place, keep your colour temperature consistent, avoid being backlit, and you'll look dramatically more professional immediately — often with gear you already own. Light first, camera second.
For a permanent, elegant home studio built into your space, integrated lighting with the right colour and control makes it effortless — part of our architectural lighting approach, Crafting Brighter Lives, on camera and off.
Setting Up Your Home Studio?
The secret to professional-looking video, photos, and calls isn't an expensive camera — it's good lighting. Soft, consistent, high-CRI light, positioned well, makes any space and any camera look polished. Get the light right, and everything else follows.
Want a home studio that looks truly professional? Get a free consultation.
Setting up a home studio in Noida or Delhi NCR? Contact Brightmatic for a personalised lighting consultation.
FAQ's
What is the best lighting setup for a home studio?
The best setup is three-point lighting: a key light (main, angled to one side), a fill light (softer, on the opposite side, to soften shadows), and a backlight (behind you, for separation and depth). Use soft, diffused light, keep colour temperature consistent, and choose high-CRI lighting. Even a single well-placed soft key light is a huge improvement for video and calls.Is lighting more important than the camera?
Yes — lighting matters more than the camera for how professional your content looks. A modest camera in great light looks polished, while an expensive camera in poor light looks flat and grainy. Cameras need good light to capture clean, sharp, flattering images. This is why you should get the lighting right before spending on a better camera.What is three-point lighting?
Three-point lighting is the professional standard using three lights: a key light (your main, brightest light at an angle), a fill light (softer, opposite the key, to soften shadows), and a backlight (behind you, separating you from the background and adding depth). Together they create a clean, dimensional, flattering look used from film sets to home studios.What colour temperature should home studio lighting be?
Keep colour temperature consistent — don't mix warm and cool light uncontrolled, as it creates odd colour casts. Many creators use daylight-balanced lighting (around 5000–5600K) for a clean, neutral look, or tunable lights to set the temperature. Whatever you choose, matching all your lights to the same temperature is what makes footage look clean and professional.Why is CRI important for a home studio?
CRI (Colour Rendering Index) measures how accurately light shows colours, and for anything filmed or photographed it's critical. High-CRI lighting (90+, ideally 95+) shows skin tones and colours naturally and vividly, while low CRI makes skin look dull or the wrong colour — an instantly amateur look. For a home studio, always choose high-CRI lighting for true-to-life results.
Comments
No Comments